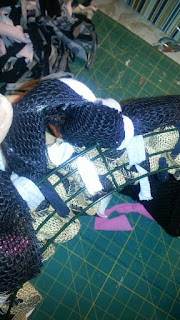
Ok, so you may not remember, but way back when I made a sad little
Rag-a-Muffin wreath using scraps of t-shirt.
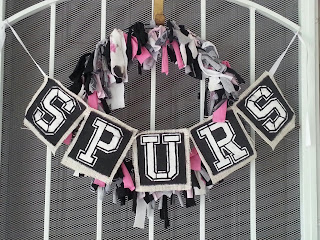 |
| The Original Rag-a-Muffin wreath |
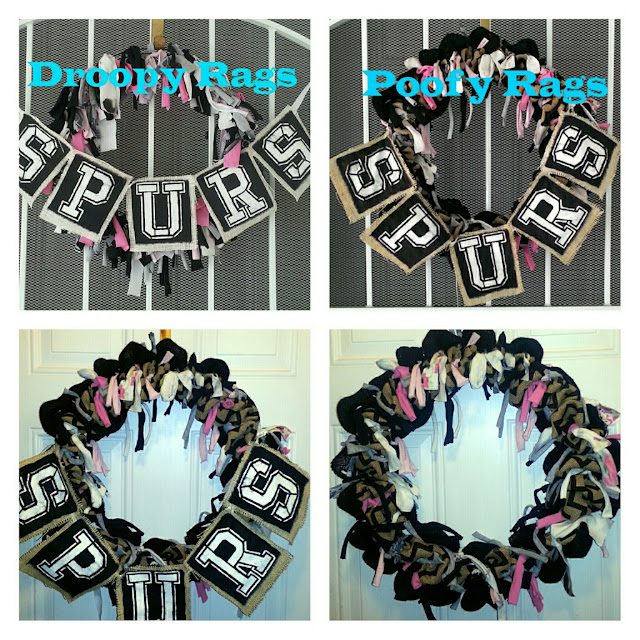
Well, it didn't take long in the San Antonio humidity for those t-shirt scraps to go limp. So instead of a Rag-a-Muffin look, I got a drowned rat look. Not really what I was wanting. I finally got off my bum & decided to fix it.
Step 1: I took it all off & down to the bare bones (or wire frame in this case). I also purchased some burlap ribbon from the craft store. I had a 1/2 roll of black tulle as well, but in the end I opted not to use it.
Step 2: I began by tying the chevron burlap to the center 2 rings. Being my first burlap wreath ever, I did my research, and watched some YouTube videos on how to make burlap wreaths. They all seemed to recommend a type of tuck and twist method. I really wasn't comfortable with that because it didn't seem secure, and when I tried it, mine was definitely NOT secure. But since I was going to reuse my t-shirt ties, I just decided to tie my burlap in place. I invented my soon to be world famous "Pucker-and-Tie Method" :-)
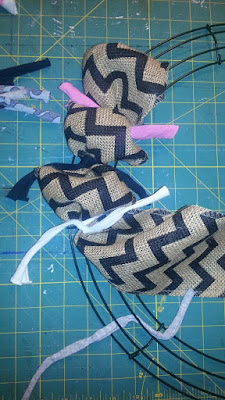 |
| Pucker and tie method |
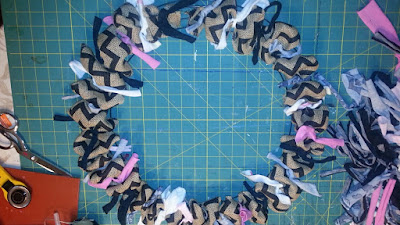 |
| Puckered and tied all the way around (you can see the gap of the ends at the top of the photo) |
Use the Pucker and Tie Method: I began by tying a short end, create a ripple or pucker with the ribbon and tie - create a pucker and tie - so on and so on until I got all the way around to my starting point and tied the last end. I had just enough ribbon to go around the wreath once. My two ends are just sitting right next to each other, which did leave a small gap, but once I was done I was able to squish them together & now you can't even see the gap. I was actually thinking that if you were to put a flower or bow or something, you would actually want that gap there.
Step 3: I began tying my solid black burlap ribbon to the inner and outer rings. I had more of this ribbon so I was able to go around both with no problem. Same method - pucker and tie.
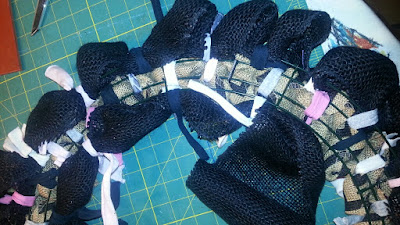 |
| The back of the frame looks like this |
Step 4: Once I had all my burlap ribbon tied in place, I started filling in random areas with more t-shirt ties. I think my t-shirt ties were around 1" x 6" pieces (give or take on the length)
 |
| Tie extra pieces where ever you find gaps |
Step 5: Hang on a wreath hanger hook
Step 6: Add my Spurs Banner Flags
All done! From droopy to poofy - in about 30 minutes (Well, 30 minutes once I had an empty frame to work from. Un-knotting all those little buggers took some time - and fingernails)